Pop-Under Ads – Are They Good for Your Business?
June 29, 2017
‘SEO Beyond YOAST’ Presentation in Dublin
July 13, 2017To someone adding a post to a blog for the first time, this task isn’t as easy as 1-2-3. Fact is, given the presence of numerous buttons or features on the new post screen, doing this can be overwhelming and confusing. Moreover, accomplishing this task quickly and properly the first time may be difficult.
If you are tasked to do this job and have no idea how to do it, do not fret. As mentioned in previous posts, WordPress is very user-friendly, which is why a lot of people use it for their websites. Hence, learning how to add a post to your blog on your WordPress website is not difficult at all. With a little guidance and some practice, you’d master this skill in a short span of time. Below is a step by step guide on how to add a post to your blog.
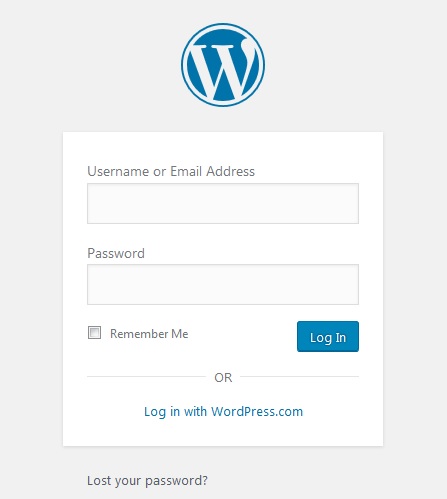
- Log in to your WordPress Administration Panel.
- Click on the ‘New Post’ button located on the top right side of your screen.
Another way to do it is to add a post with the dashboard editor. Go to Posts, then click on ‘Add New’.
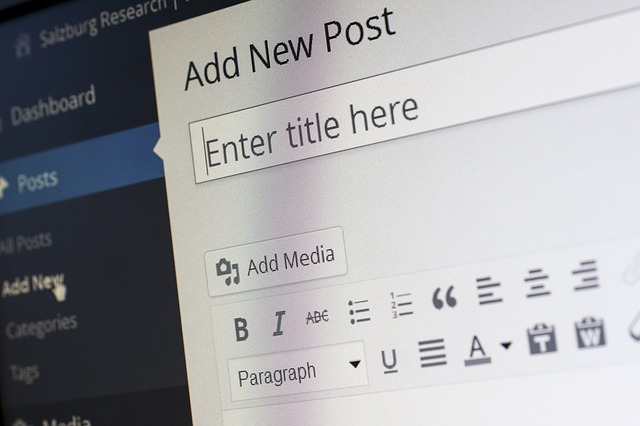
- After clicking ‘New Post’ Or ‘Add New’, you will be taken to the new post screen. On the New Post Screen, there are two prominent boxes: Title Box (for your post’s title) and the Content Box (where you write your post). On the upper right side corner of the content box, you are going to see the Visual And Text Editor buttons. Click on the ‘Visual’ button since this text editor option is more beginner-friendly.
There is a toolbar located on top of the Content Box. Here, you’ll find formatting buttons such as bold, italics, numbered list, etc. If you want a phrase to appear in bold letters, you just need to select the phrase and click on the bold button.
Notice the Word Count for your post at the bottom or the footer area of the content editor. Also seen on the footer area is the Autosave Status.
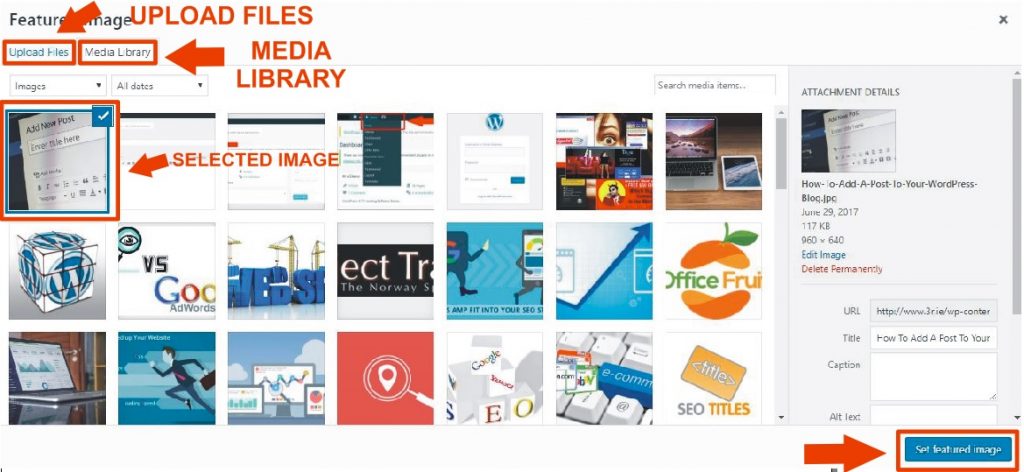
4. To add a featured image to your post, look for the meta box called ‘Featured Image’ on the right hand side of the New Post screen. Click on the ‘Set Featured Image’ link. Doing this opens the WordPress Media Uploader.
Select an existing photo from the Media Library or upload a new image from your device. After choosing an image, click on the ‘Set Featured Image’ button.
When the Media Uploader closes, your chosen image appears on the Featured Image meta box.
5. Once you’re done filling out your title and content boxes and setting your featured image, the next step is to publish your post. The ‘Publish’ meta box is located on the right side of the title and content editor. On the ‘Publish’ meta box, you’re going to see different publishing options available.
Before publishing your post, click on the ‘Preview’ button to see how your post looks like once it’s published. Take this opportunity to proofread your post, too.
Next, make sure the visibility of your post is set to Public.
Lastly, click on the Publish button. Congratulations! Your WordPress post is now visible to your audience.
To learn more about adding a post to your WordPress blog, give us a call now at 019609023 or visit our website.


